

 Dansk
 Svenska
 Deutsch
 Norsk bokmål
Add a product
Before you start: the catalogue needs at least one section to put the product in.
See Create and order sections.
1. Open a new item
Open Shop → Product catalogs → Items Library and click + New item.
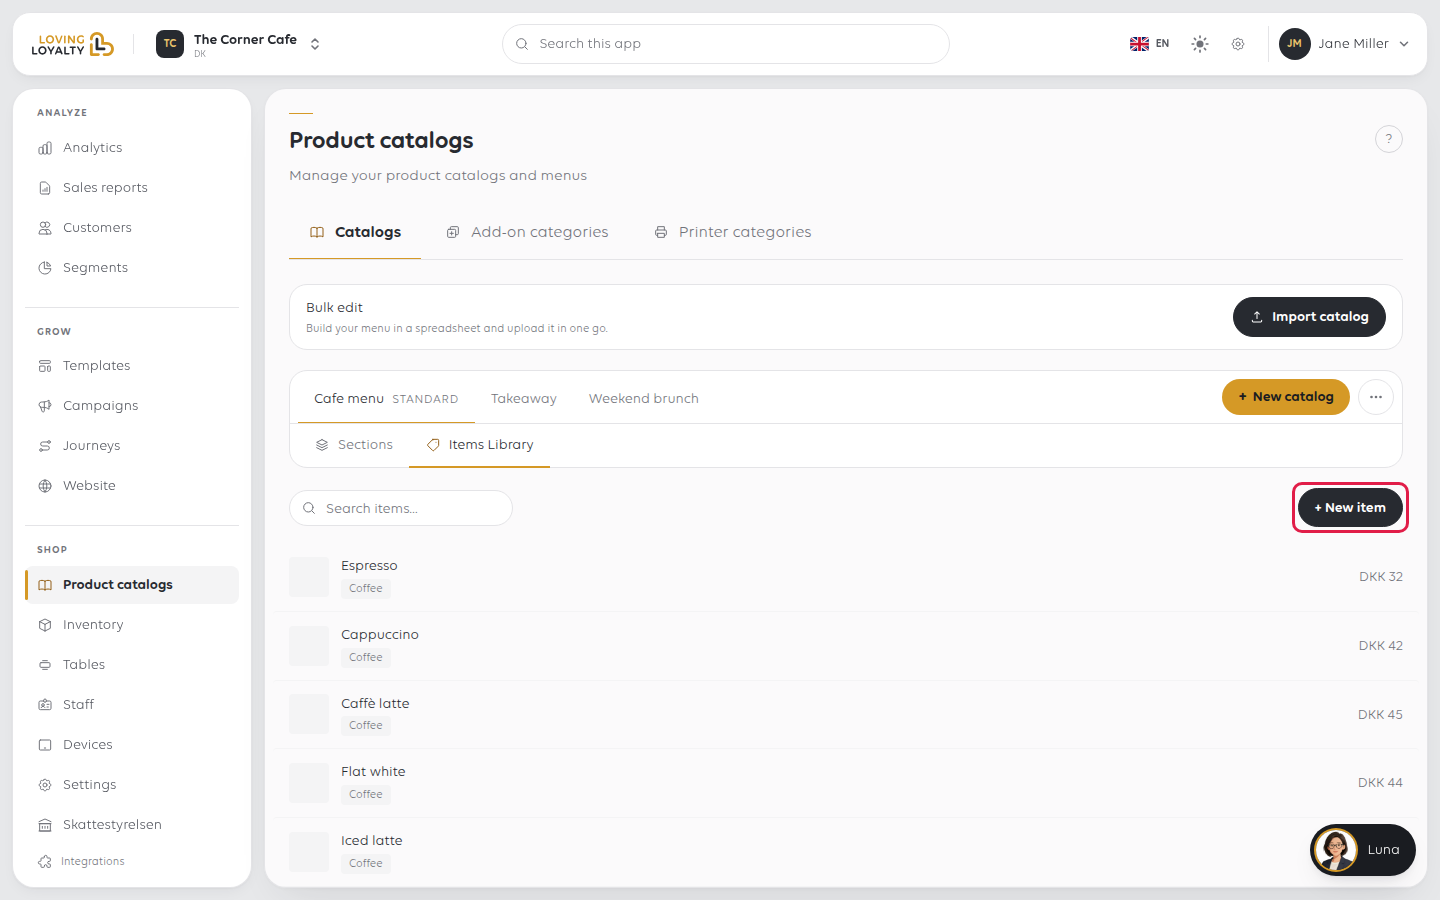
2. Fill in Basic info
Type the item's name at the top, where it says New item. Then fill in the
Basic info tab:
| Field | Notes |
|---|---|
| Item number | Required. Your own reference |
| Description | Optional. Shown to customers |
| Status | Required. Active to sell it |
| Colour | Optional. Left unset, the till picks its own |
| Add to inventory | Turn on to track stock. See Track stock levels |
| Show to customers | On by default. Turn off to sell it on the till only: it is hidden from Online ordering, the Loving Loyalty app and your website. Vouchers, variable-price items and all-you-can-eat passes are always till-only |
Upload image only works once the item is saved.
3. Put it in a section
Under Section assignments, tick the sections it should appear in, per catalogue. A
new item needs at least one; without it, saving shows Choose at least one section for
this item.
4. Set the price
On the Price tab, enter the Price and the VAT rate; both are required. Add
the Cost if you track margin.
Also on that tab:
- Variable price: the till asks for the price at the time of sale, and Price
is no longer needed. See Sell an item at a variable price. - Different price by order type: separate prices for eat-in and takeaway. It only
shows for takeaway and eat-in shops, and not on a variable-price item. - Different VAT by order type. See Sell items at a different VAT rate.
5. Finish the other tabs if you need them
| Tab | For |
|---|---|
| Measure | Sold by weight or metered quantity. See Sell an item by weight or measure |
| Add-ons | Choices the customer makes. See Set up add-ons and options |
| Receipts | Which printer categories it belongs to. See Send items to the right printer |
| All you can eat | The item grants access to included items |
6. Save
Click Save. A message confirms <name> created and the item stays open, so you
can now upload an image. If something required is missing, the form jumps to that tab
and lists what to fill in.
If something goes wrong
| What you see | What to do |
|---|---|
| Please fill in: ... | Fill in the fields it names |
| Choose at least one section for this item | Tick a section under Section assignments |
| The item is not on the till | Check its status is Active and it is in a section |
| It is in the wrong catalogue | Section assignments are listed per catalogue; tick the right one |
| No kitchen ticket for it | Give it a printer category on the Receipts tab |
| It is not counted in stock | Turn on Add to inventory |
| Customers can't find it online | Turn on Show to customers. Vouchers, variable-price items and all-you-can-eat passes never show online |
Was this article helpful?
Thanks for your feedback!