How to create a communication template
What is a Communication Template?
A communication template lets you define a reusable message — Email, SMS, or Push notification — that can be sent to your customers through journeys and campaigns. Templates support dynamic variables so each message feels personal.
Step 1: Open the Templates section
In the left sidebar, click Templates. You will see a list of all existing templates.
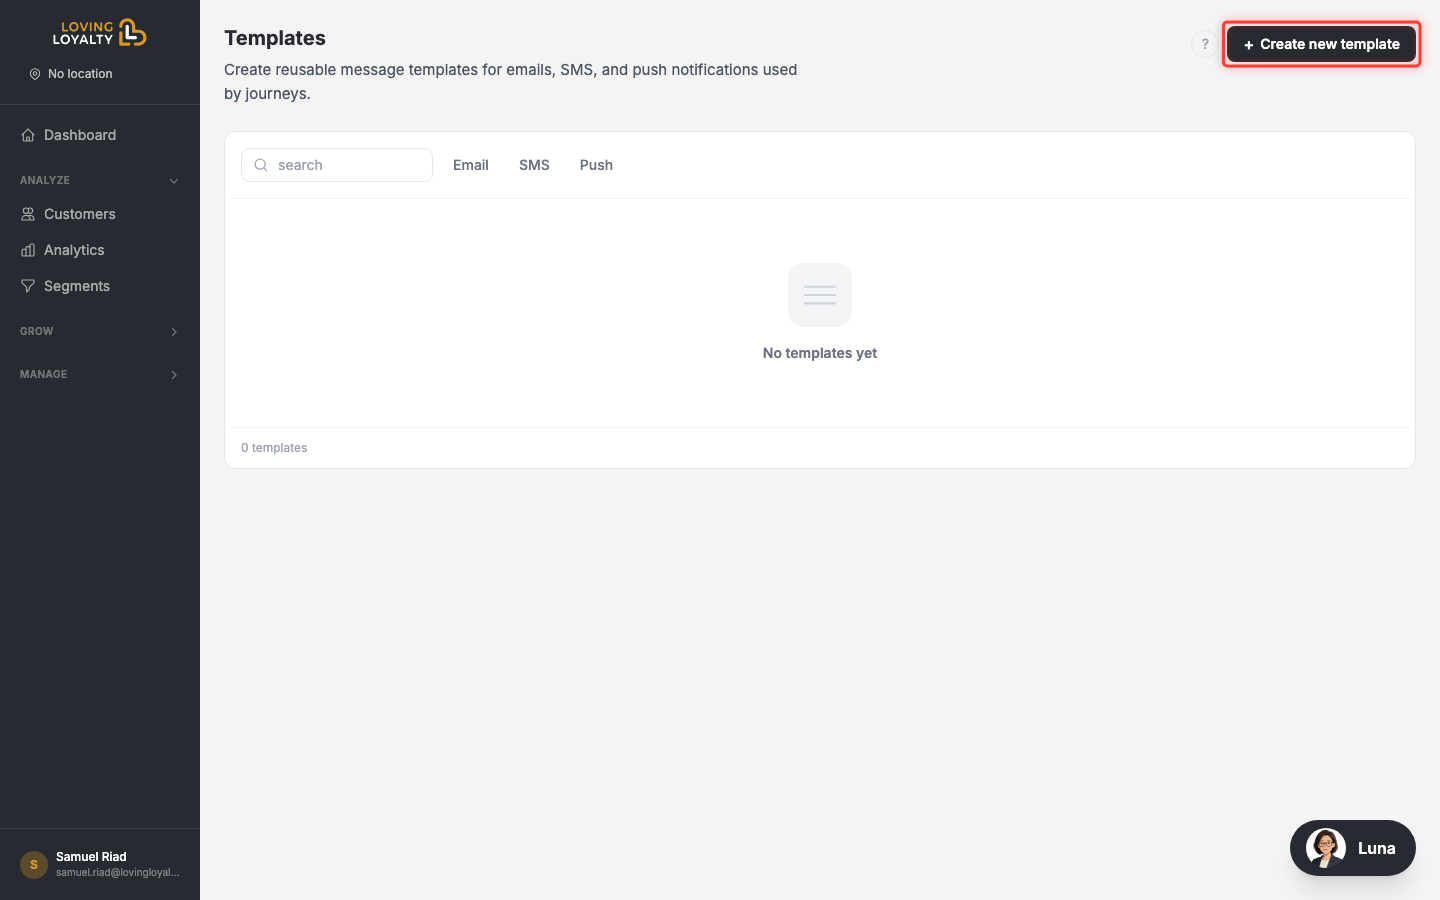
Click the Add Template button in the top-right corner to create a new one.
Step 2: Name your template
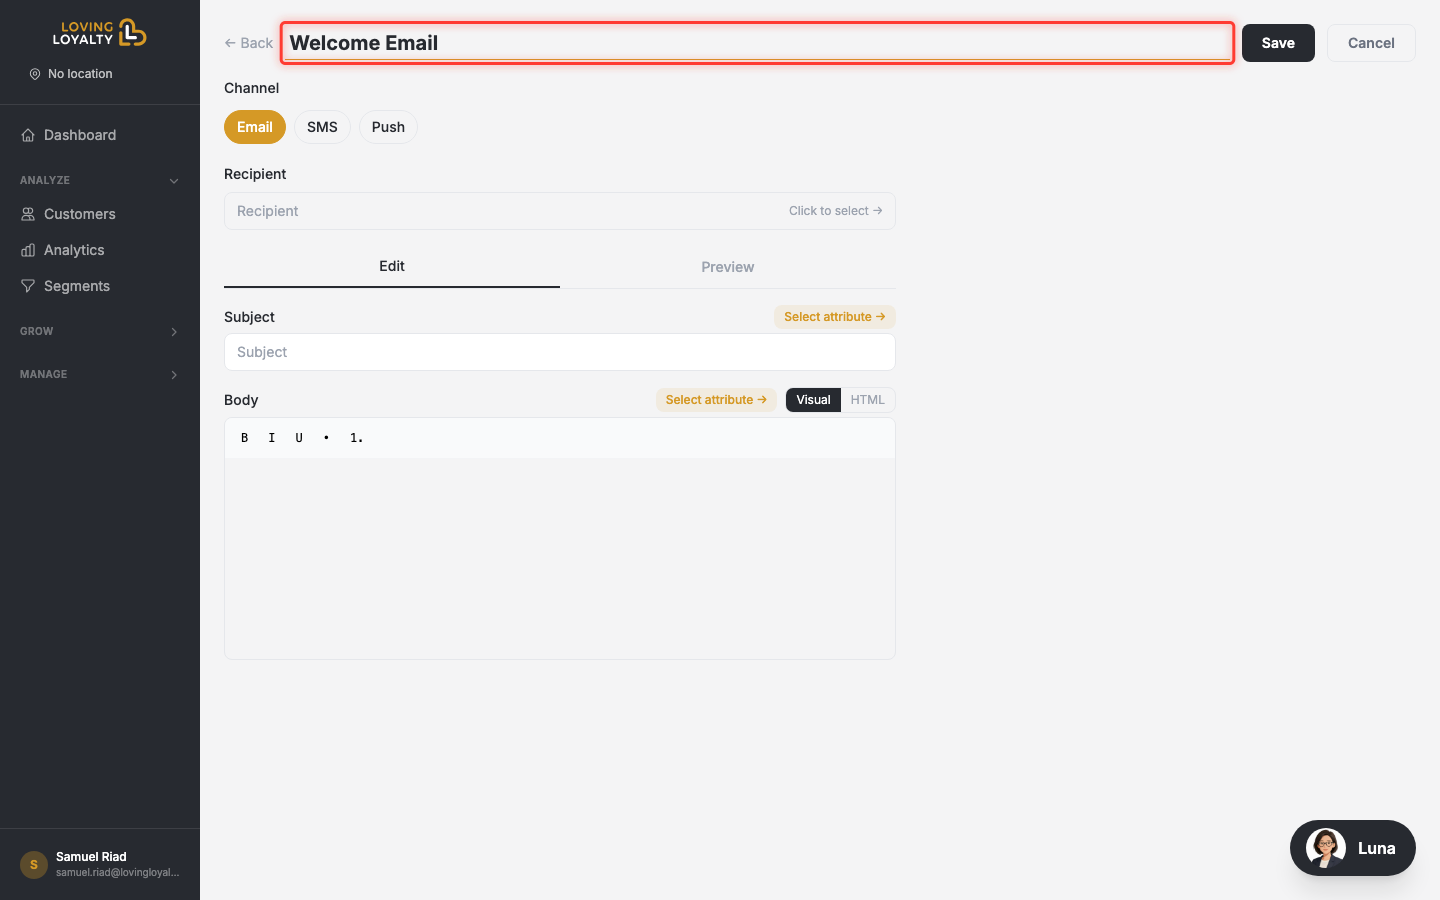
The template editor opens. Start by giving your template a clear, descriptive name at the top of the form.
Step 3: Choose a channel
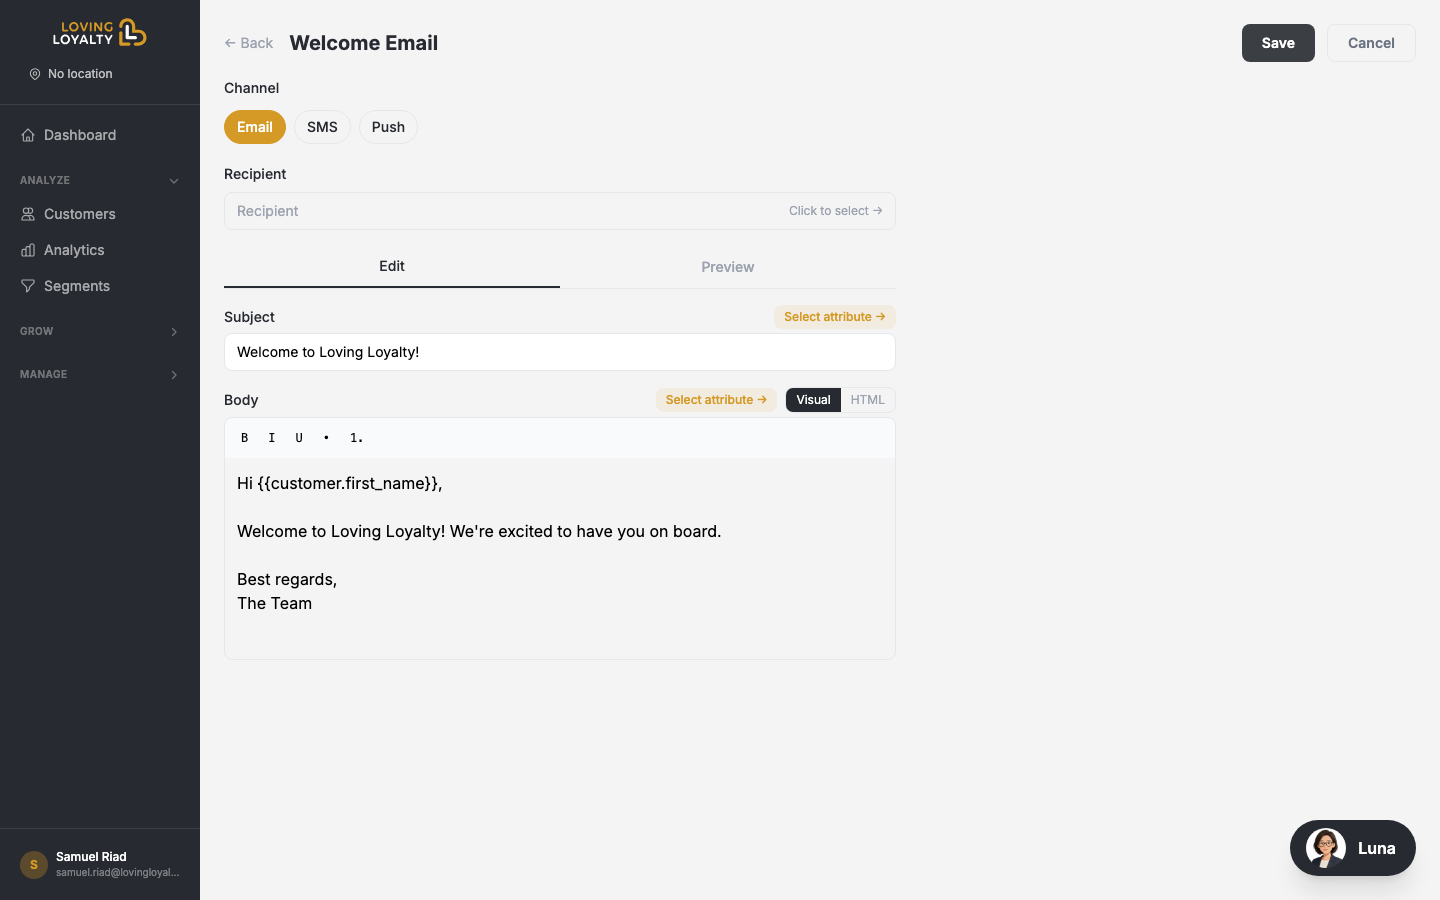
Select the channel for your template: Email, SMS, or Push. The channel determines what fields are available and how the message is delivered.
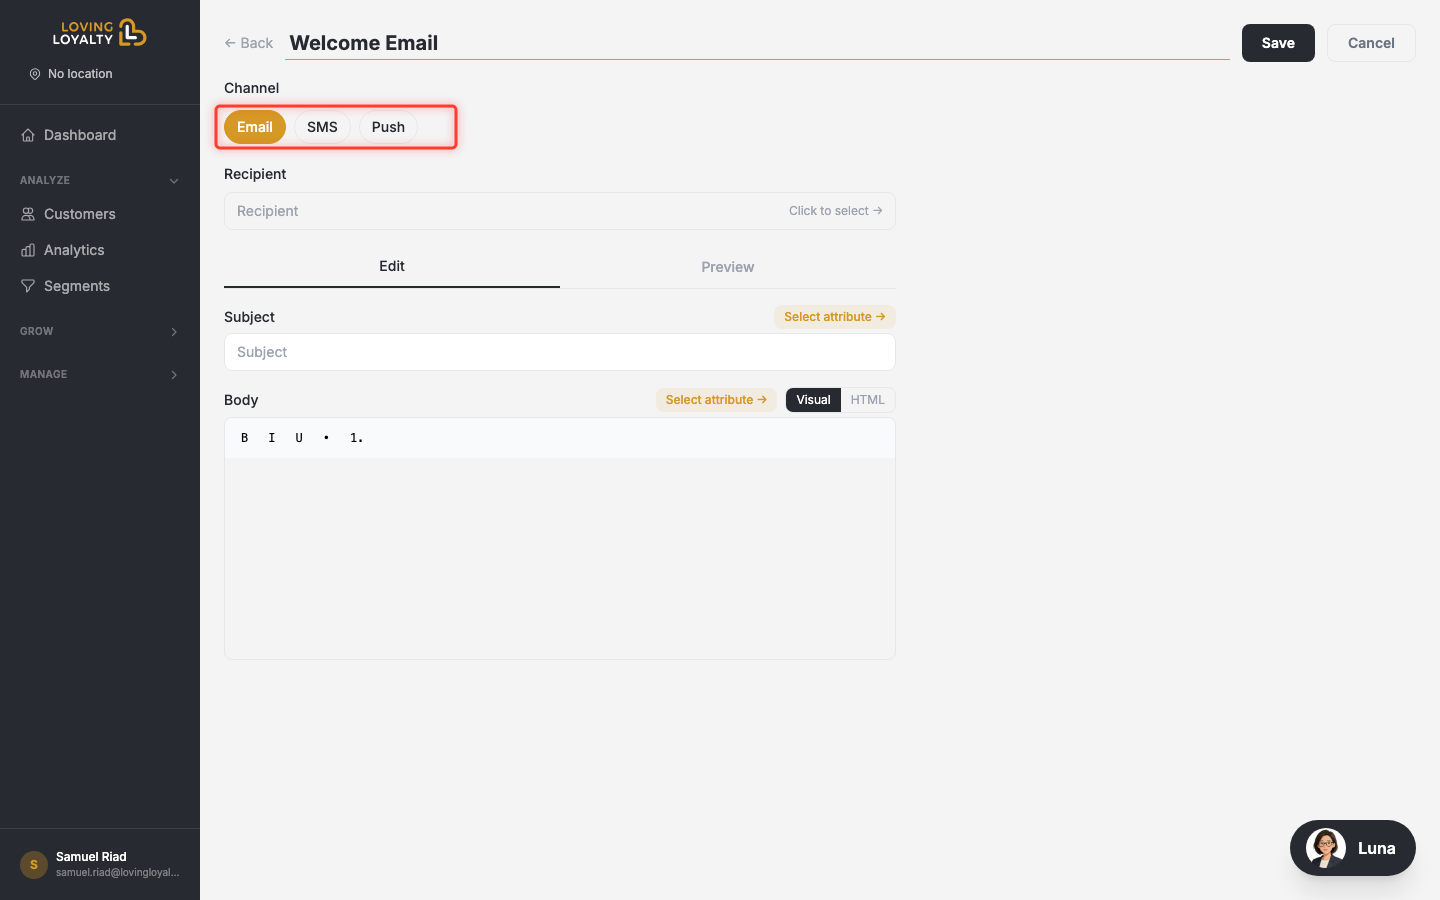
Note: You cannot change the channel after saving the template.
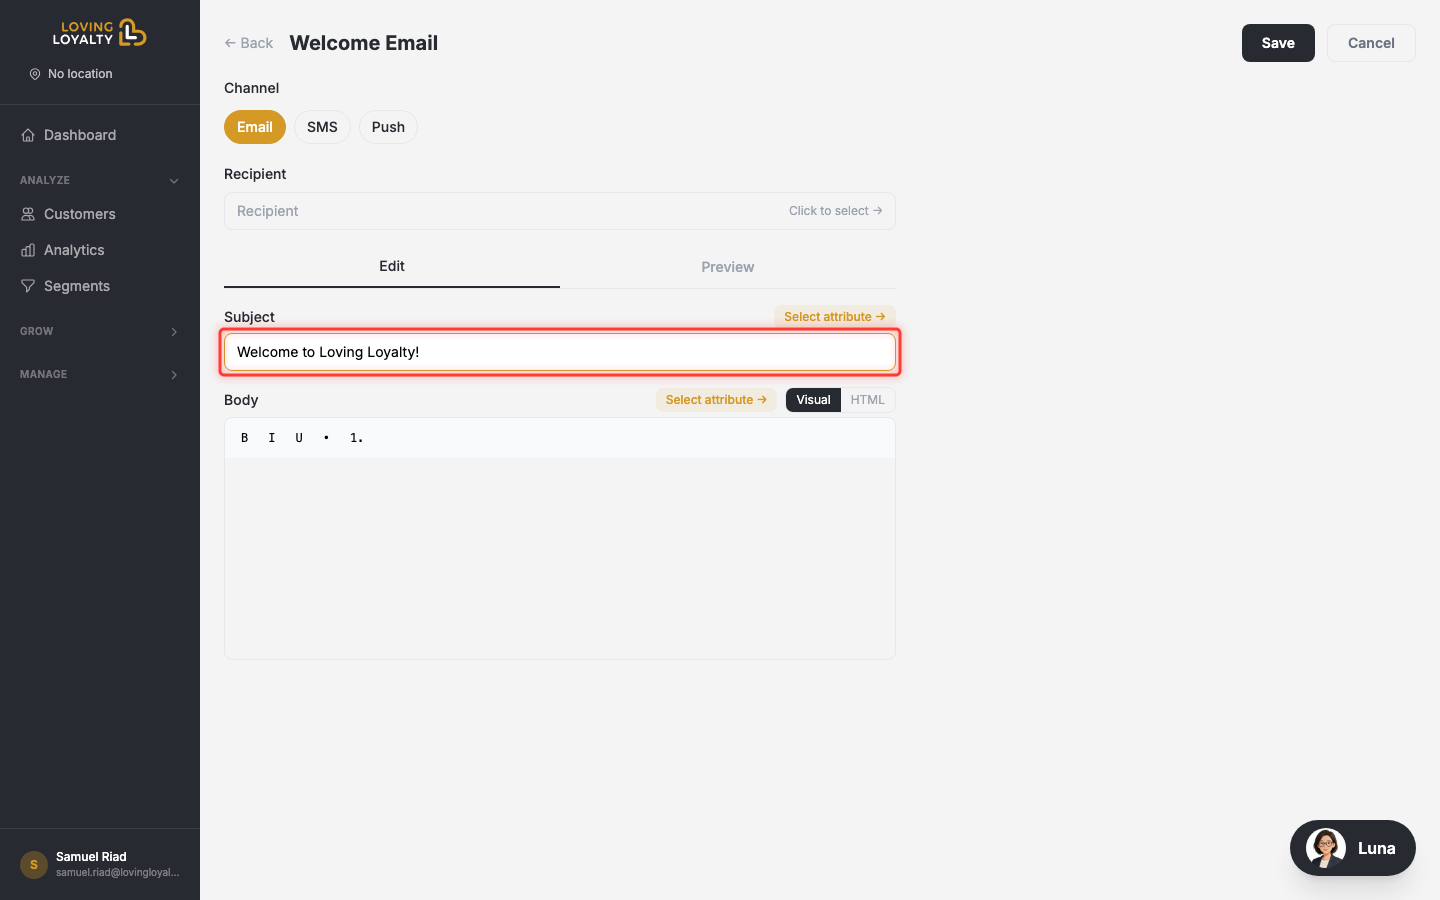
Step 4: Fill in the subject (Email only)
For Email templates, enter a subject line. This is what the customer sees in their inbox before opening the email.
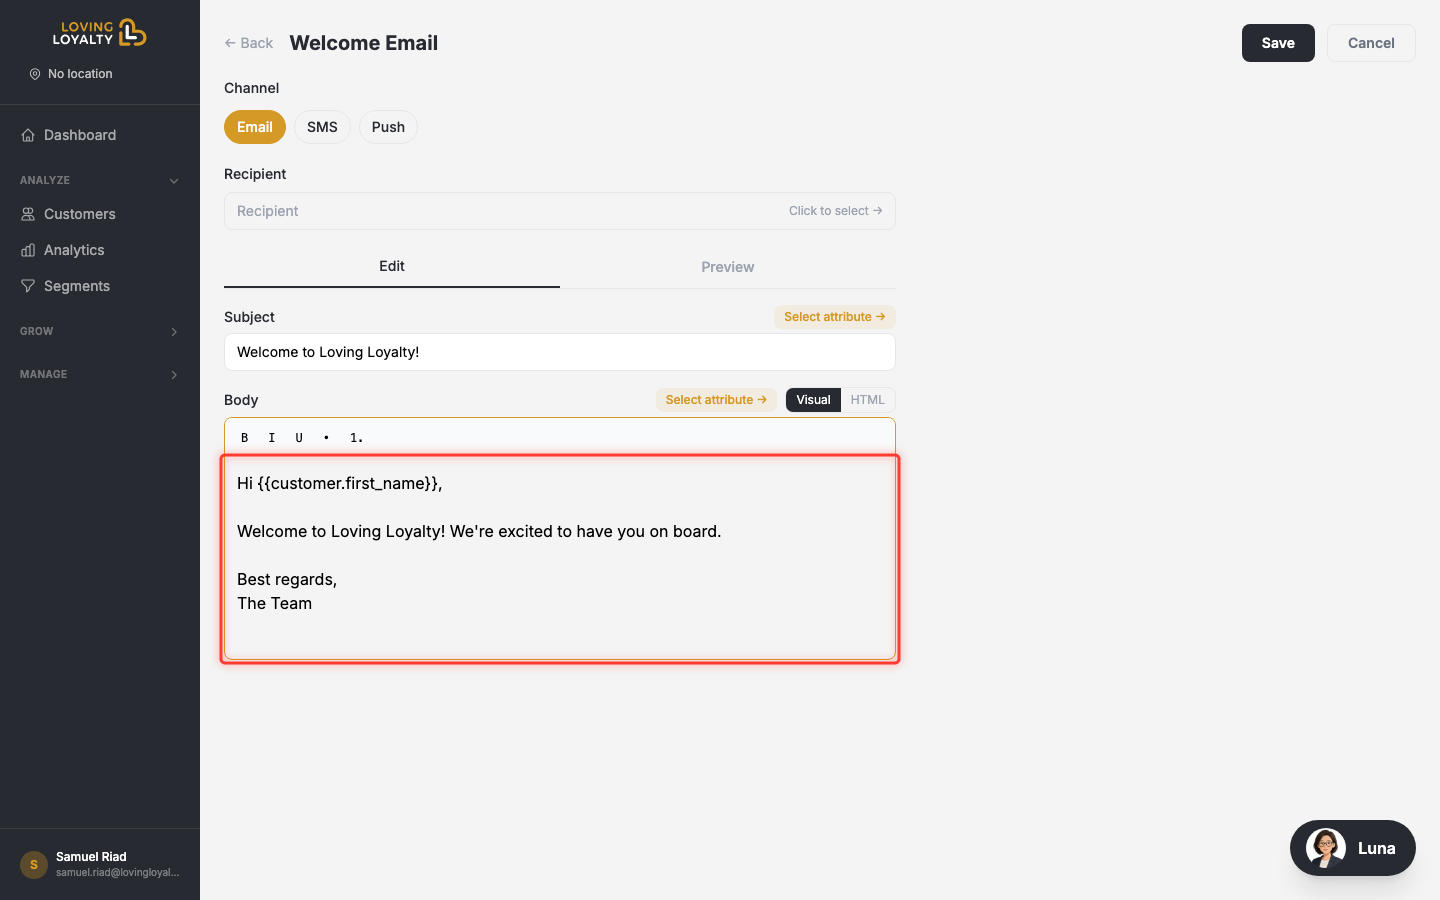
Step 5: Write the message body
Type your message in the body editor. For emails you get a rich text editor with bold, italic, lists, and more. SMS and Push use a plain text field.
Step 6: Insert dynamic variables
Use the Insert Variable button to add personalised placeholders like {{customer.first_name}}. These are replaced with real data when the message is sent.
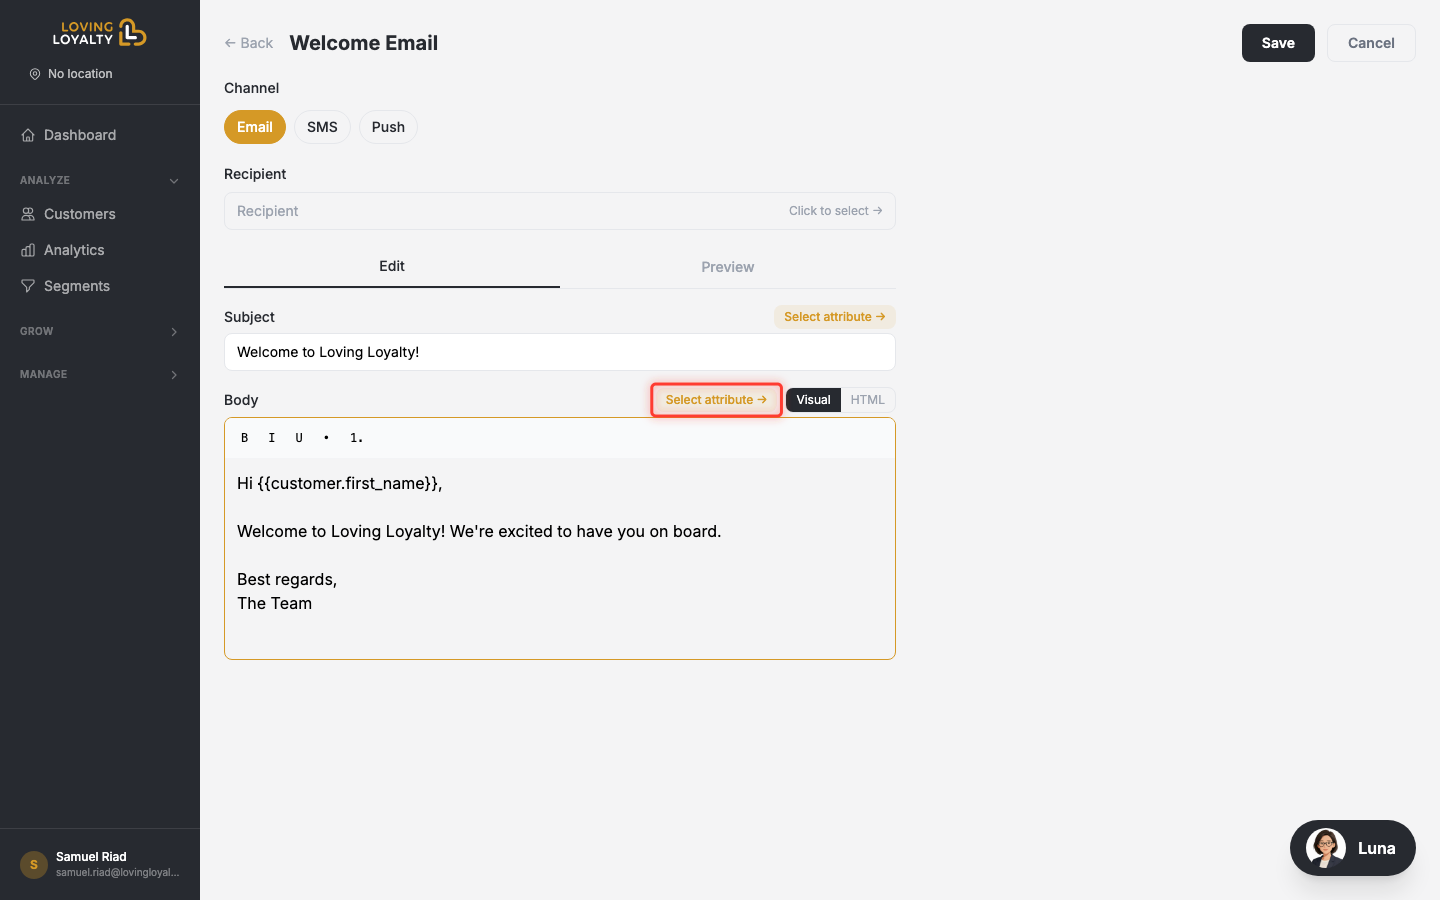
Click the button to open the variable picker, then select the attribute you want to insert.
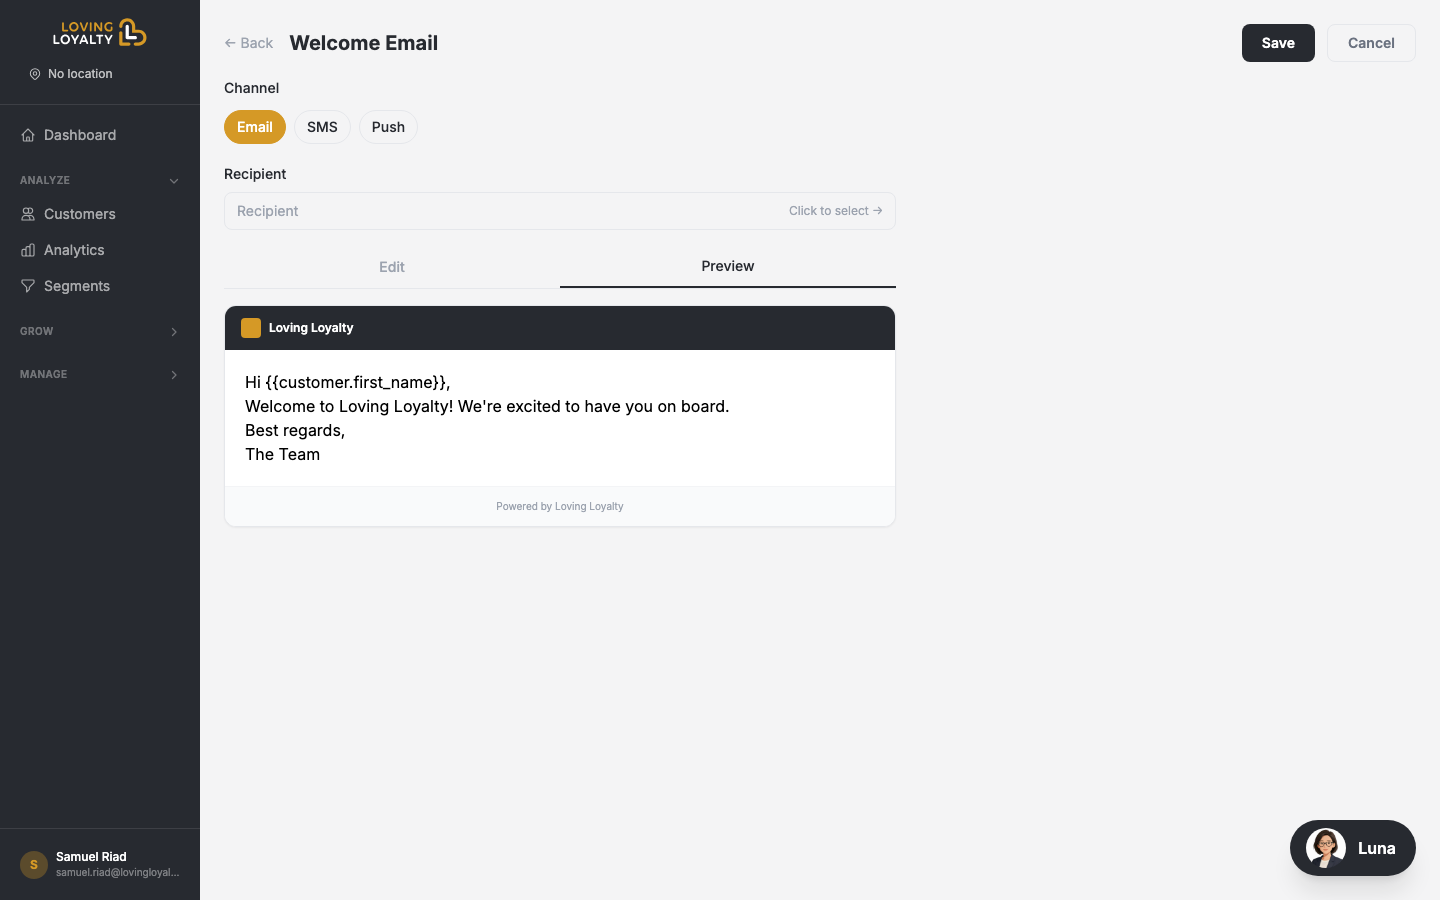
Step 7: Preview before saving
Switch to the Preview tab to see how your message will look to the customer, with example values filled in for any variables.
Step 8: Save the template
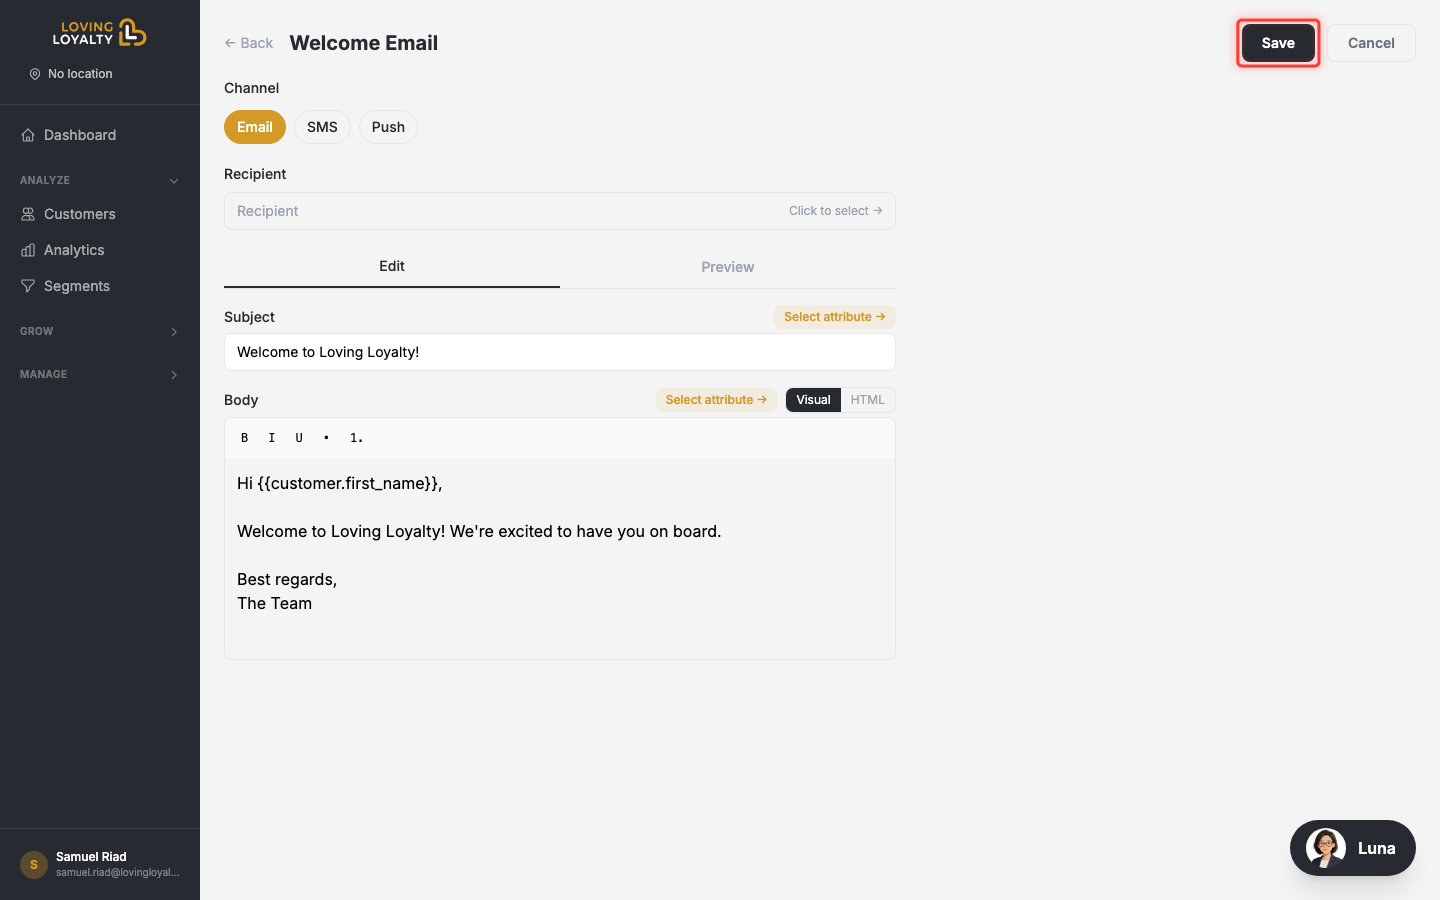
Click Save in the top-right corner. The template is saved and you are returned to the templates list where it now appears.
Next steps
Your template is now ready to use. You can attach it to a Journey (for automated messages triggered by customer actions) or use it in a Campaign (for one-time bulk sends).