
Connecting e-conomic accounting
Connecting e-conomic accounting
Before you begin: Make sure you are logged in to the Loving Loyalty Manager. If you have not logged in yet, see How to log in and reset your password.
e-conomic is a cloud accounting platform popular in Denmark and Norway. Connecting it to Loving Loyalty automatically posts your POS sales into e-conomic — eliminating manual bookkeeping.
Connecting e-conomic
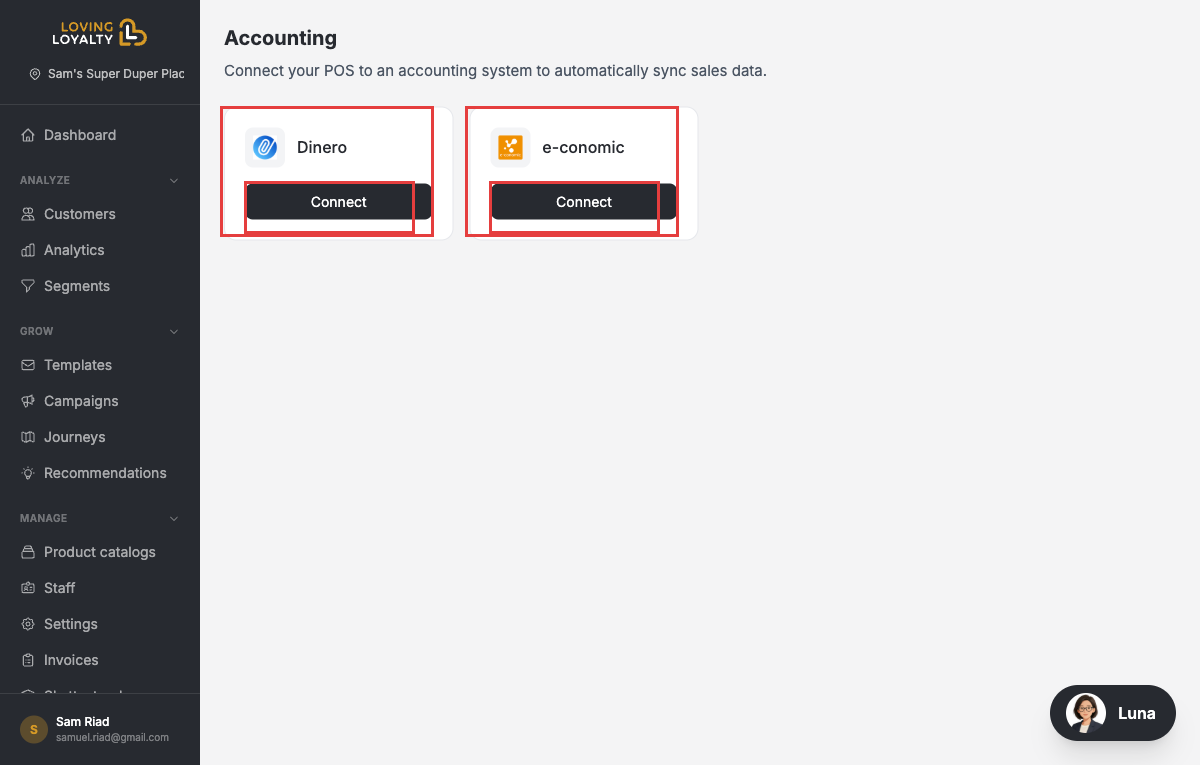
- Go to Accounting under Integrations in the left sidebar.
- Find e-conomic and click Connect.
- You will be redirected to e-conomic to authorise the connection. Log in and approve.
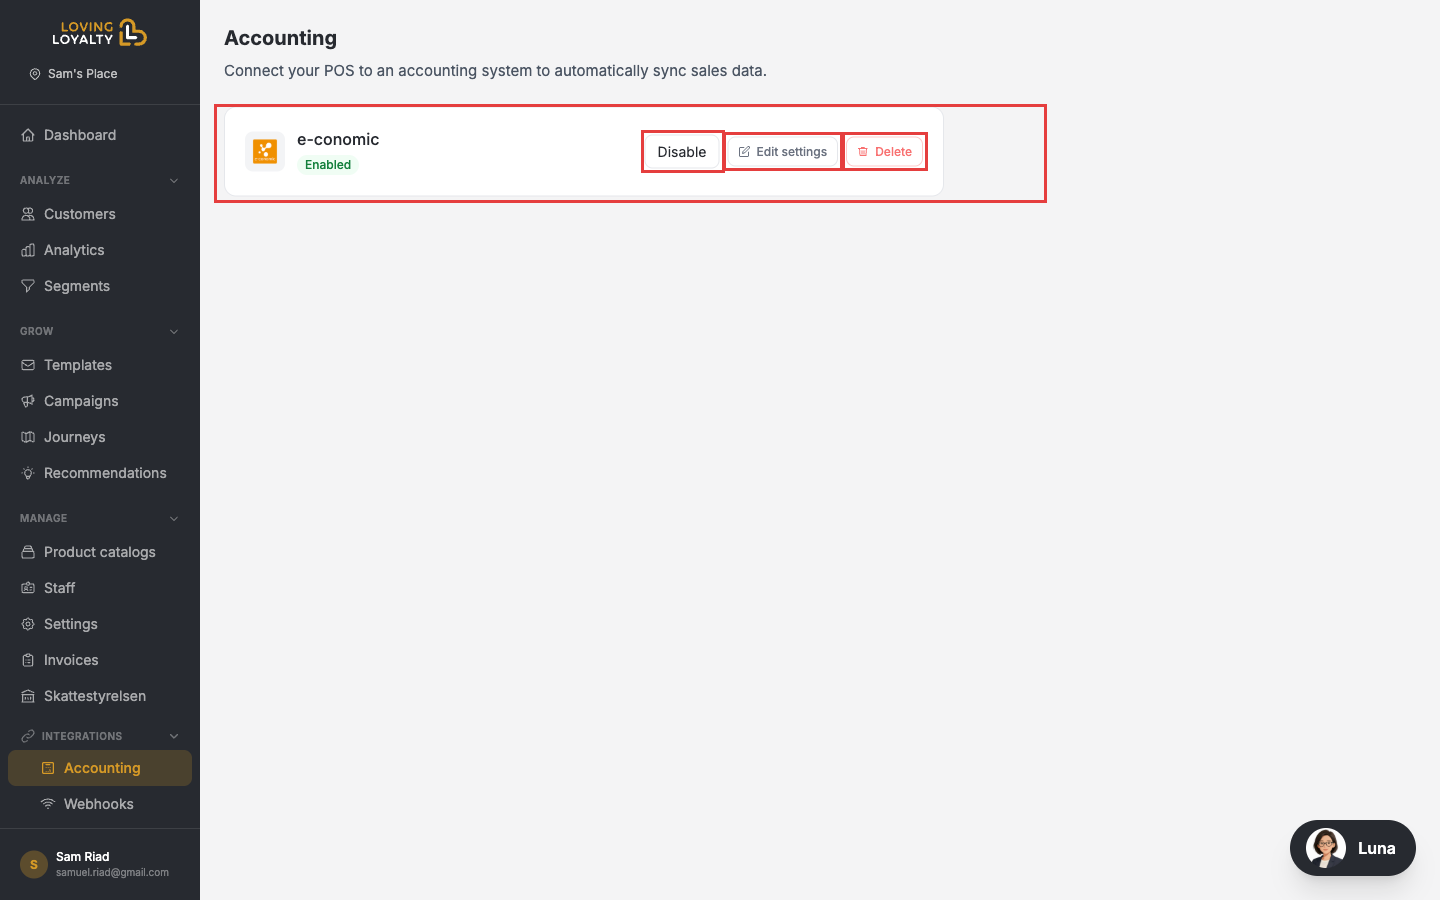
- Once back in the Manager, e-conomic shows as Enabled.
Editing settings
Click Edit settings to configure how your sales data maps to e-conomic accounts.
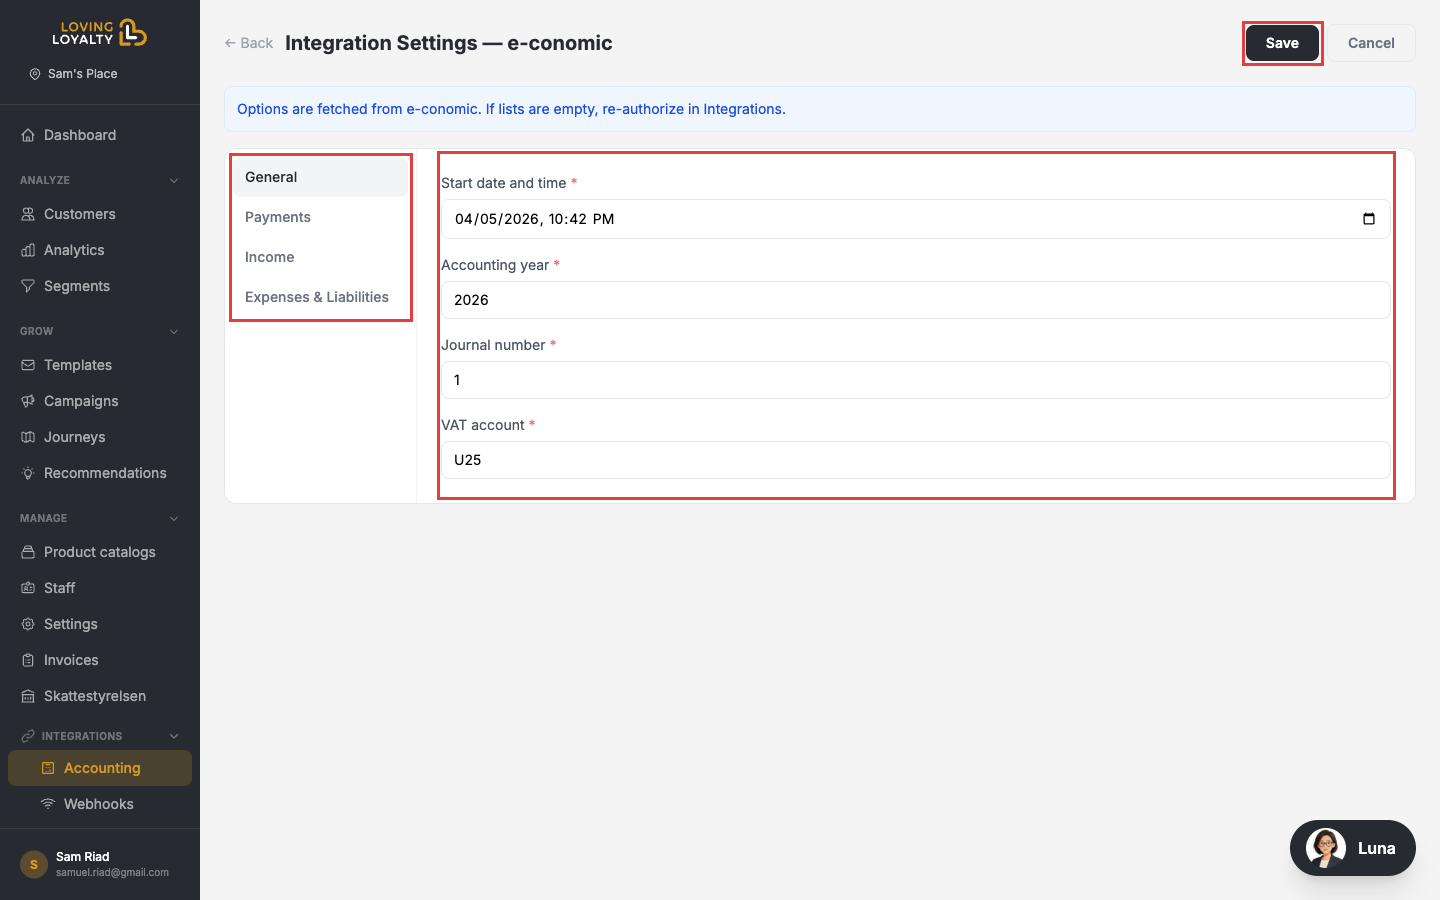
The settings are split into four tabs:
- General — Start date, accounting year, journal number, and VAT account.
- Payments — Account mapping per payment method (cash, card, etc.).
- Income — Account mapping for sales income lines.
- Expenses & Liabilities — Account mapping for fees, tips, and other liabilities.
Click Save when done.
Disconnecting
Click Disable to pause the sync, or Delete to remove the integration entirely.